Some time ago, my mad-titan best friend casually mentioned she was thinking about making her own soap, and since I’ve never had an original thought in my life, I decided, yeah, why not me too?
Of course it did take me a few years to actually try out this new hobby, but I’ve finally gotten into experimenting in my kitchen this last couple of months.
I’m by no means some artisan soap-making guru, but I think I’m pretty okay with the basics. So, if you’re in the market for a new hobby in this crumbling economy that is Malawi, here’s a post on how to get started.
Before you start:
So I’m not about to tell you how to make soap from actual scratch. That involves working with lye, careful measurements, safety gear, curing time and a level of patience and precision that I personally have never possessed.
Instead, we’re going with the beginner-friendly melt and pour soap making route. It is exactly what it sounds like – you melt and then you pour. It’s straightforward and perfect for experimenting without the worry of accidentally turning your kitchen into a science project gone wrong.
Disclaimer: These are pure experiments on my side. I just started mixing stuff and putting them on my (very sensitive) skin because no breakout can faze anymore. I’ve also being doing all this by vibes. And as much as it’s been beneficial for my own skin, this is not dermatologist approved anyway. Please patch test, research and proceed wisely.
What you’ll need, what they are and where to get them:
Ingredients:
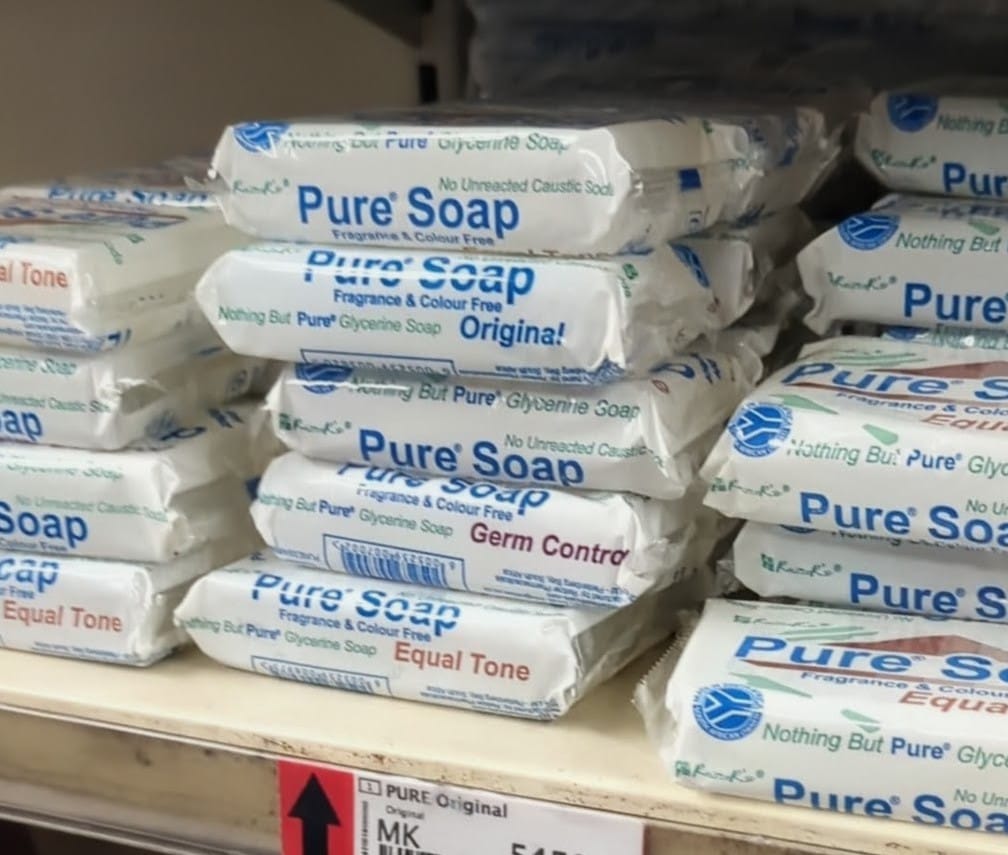
- Soap base: The first thing you’ll need is a soap base (also known as pure soap). This is an unscented saponified (trust me, you don’t need to know what this word means) foundation of any soap. Actually, it’s a finished soap but like with no scent, no colours, no additives, no nothing. Just a boring block (sometimes can be liquid but haven’t found that yet) of blurgh. I’ve only used a glycerine soap base, but there are others to chose from if you can ever find them. Here’s a post that might help you in choosing a base. As for me, the first place I ever got glycerine soap base was randomly on Facebook marketplace. But then I found out Game stocks pure soap for cheap (less than MwK6,000).
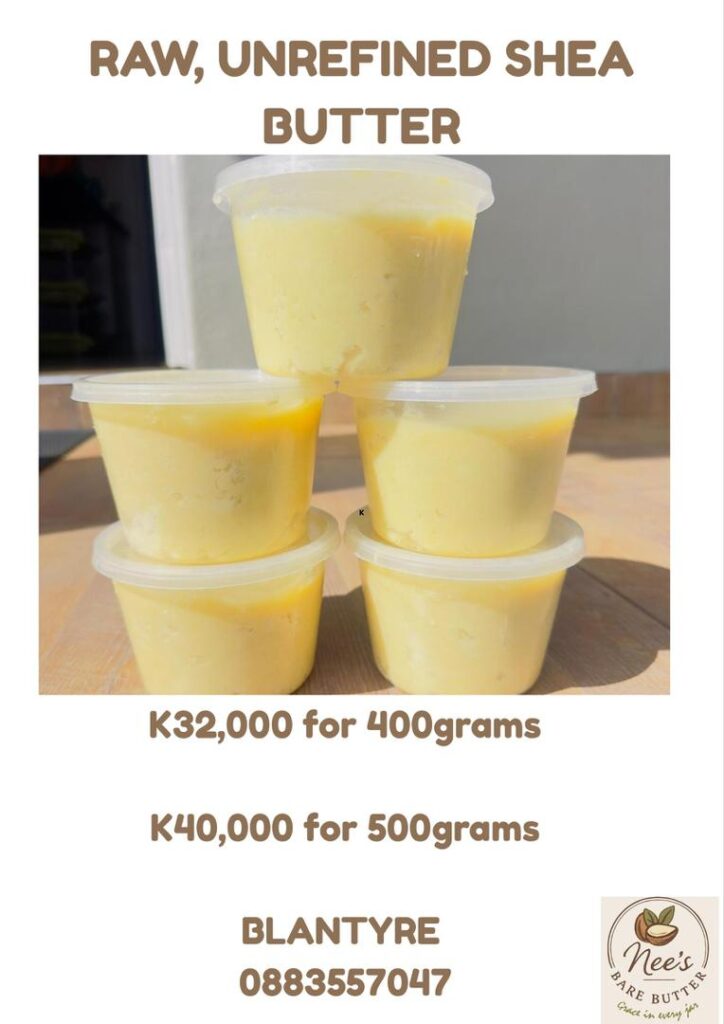
- Carrier oils: So your soap doesn’t necessarily need a carrier or a base oil, but what’s the point of making your own soap if you’re not customizing it left, right and centre. Carrier oils (also called base oils) are plant-derived oils you add to your soap to boost its skincare benefits. They “carry” other ingredients , like essential oils, safely into the skin. Essential oils are very concentrated, so they shouldn’t be used alone. Carrier oils dilute them while also adding moisture and nourishment. But even if you’re not using essential oils, carrier oils make your soap more luxurious and skin-friendly. I haven’t used a lot of carrier oils so I can’t tell you much about their properties. Here’s a post that might help in choosing what carrier oils might work for you. I use coconut oil and shea butter for my soaps (and lotions and potions). I get coconut oil from Chipiku – the cheapest 100% pure one litre cooking one I can find. It’s like Mwk 40,000 but it lasts quite a bit so there’s value for money . I get the shea butter from my friend, Grace (poster below.) Pro tip – get the 500 grams one. Best value for money as well, and trust me – it also lasts for a bit. (Keep both of these in the fridge).
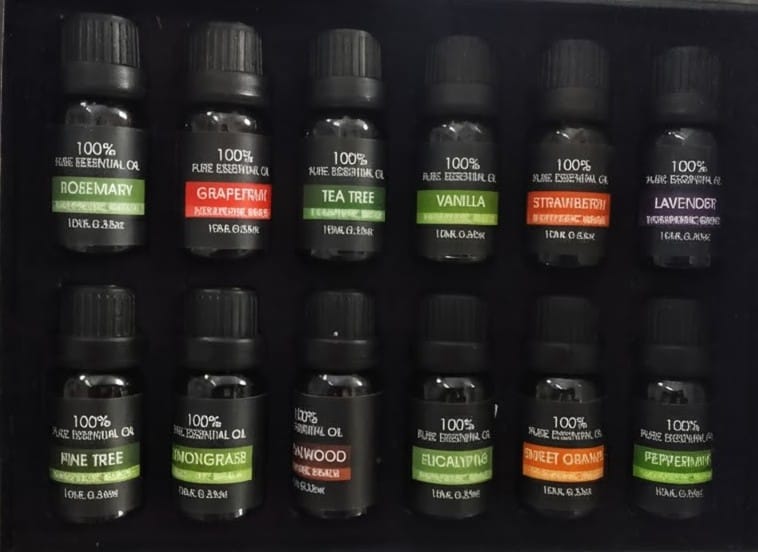
- Essential Oils: Essential oils are the concentrated ‘essence’ of a plant. They might come from their flowers, bark, roots or leaves. Since they’re extremely concentrated, they smell very strongly of the plant’s scent. I mainly use them to scent my bars but apparently essential oils have their own benefits. Here’s a post that lists some of them. My aura farming best friend got me my first batch of essential oils from Trudy’s. Definitely not sure how much they are now but in September 2025, they were Mwk 4,500 each. Don’t let those small bottles fool you, these too also last. I still have all of mine.
Tools
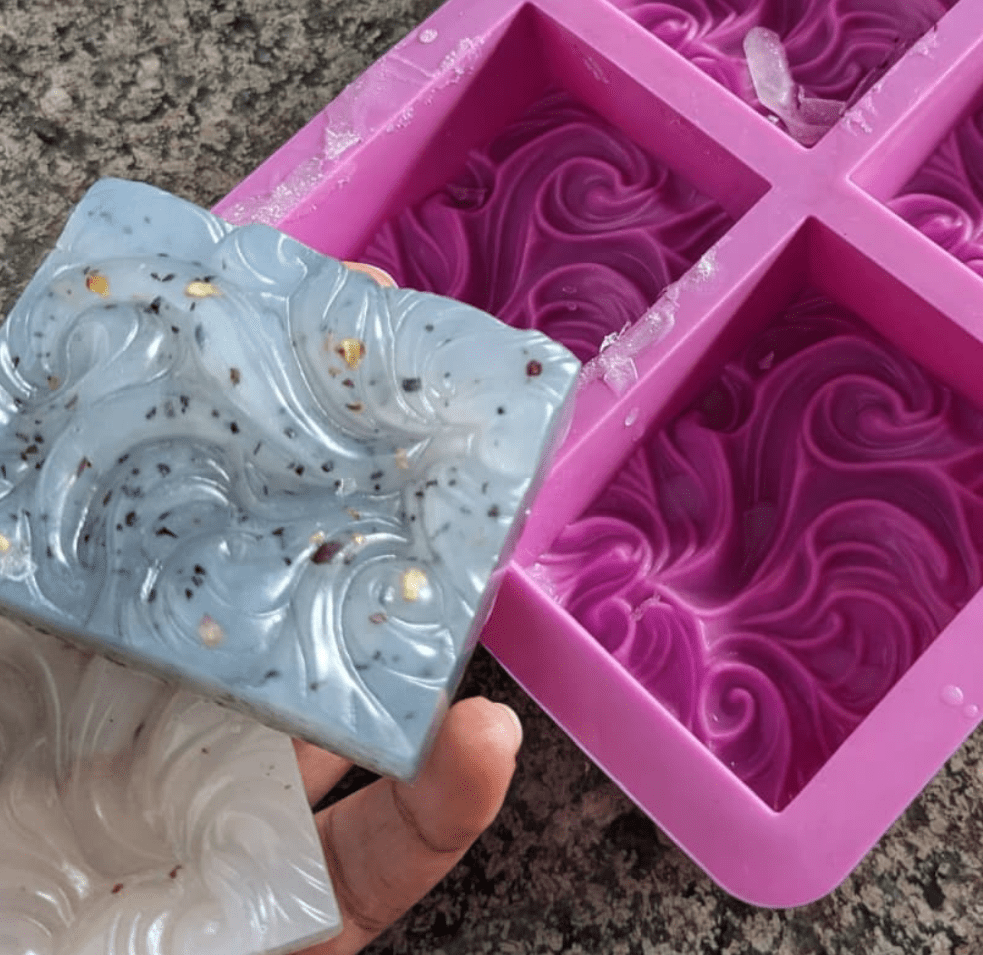
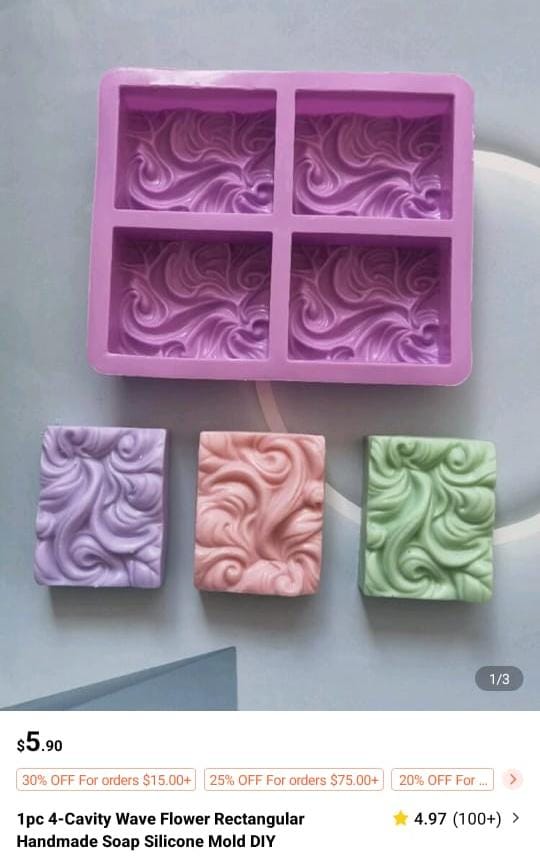
- Soap Moulds: You will also need a mould. This is a container that’s going to shape your bar of soap. I got mine off shein. The ones I how were $6, so the price really depends on whatever rate your shein plug gives you. I recommend placing an order through my shein plugs Yewo or Ella incase you don’t have one. I personally got the moulds in the picture but shein has many many designs to choose from.
- Measuring cups or spoons: Now, technically, you should measure your oils and additives properly. And I recommend that. However my own measurements are guided by vibes. Please experiment with measuring and taking notes so you figure out what works and what doesn’t.
- A knife: You’ll need this to chop your soap base into smaller cubes before melting it. Smaller pieces melt faster and more evenly. Plus, hacking at a soap block is also oddly satisfying.
- A heat-resistant plastic container (or microwave-safe bowl): This is what you’ll use to melt the soap base. Make sure it can handle heat without it melting alongside your soap.
- A pot : If you’re not using a microwave (I personally don’t have one), you’ll melt your soap using the double boiler method. That means placing your heat-safe container inside a pot with a bit of water in it. The water heats up, which gently melts the soap.
- A stove (or any reliable heat source): Gas stove, electric stove, hot plate, mbaula — whatever gets the water hot, that’s all you’ll need.
Directions to making your own soap:
- Chop the soap base:
- Cut your pure soap base into small cubes using a knife.
- For reference: Half a bar fills approximately one section of the mould I use.
- Place cubes into a heat-resistant container:
- Use a microwave-safe or heat-safe plastic container or bowl.
- Add your butters and oils:
- Again, my measurements are based on absolute vibes but I think 1 tablespoon shea butter and 1 tablespoon coconut oil usually suffices.
- Add essential oils:
- Add 10–20 drops of each essential oil you’re using.
- (Scroll down for scent combinations I’ve tested).
- Melt using the double boiler method:
- Fill a pot with some water.
- Place your container with the soap mixture inside the pot.
- Put the pot on the stove and turn it on.
- Stir until fully melted:
- Stir gently until everything is completely melted and smooth. Make sure there are no floating chunks of anything.
- Pour into mould:
- Carefully pour the melted mixture into your soap mould.
- Allow to set
- Let it cool and harden completely. This can take a few hours depending on room temperature.
- Remove and wrap
- Once solid, pop it out of the mould.
- Wrap it in a paper towel to absorb any excess oil.
- Admire your work
- That’s it. You’ve officially made your own custom soap bar.
Essential oil combinations I’ve tried
- Rose + Cherry + Strawberry – ☆ ☆ ☆
- Coconut oil + Vanilla – ☆ ☆ ☆
- Peppermint + Lemongrass – ☆ ☆ ☆ ☆
- Sweet orange + Grapefruit + Bergamot + Lemongrass – ☆ ☆ ☆ ☆ ☆
Extra Notes & Stuff I’m still figuring out
- Dried flowers can betray you.
- I tried dehydrated rose petals and lemon peels in my first batches. They looked beautiful until they touched water and immediately turned brown. I’ve stopped adding botanicals for now, but one day I’ll figure it out and let you know.
- Oils tend to rise to the surface.
- Especially if you’re generous with them. As the soap sets, excess oil can float to the top. I’m pretty sure this is normal. Besides the more oils and butters you add, the softer and faster-melting your soap will be – so who needs that much anyway.
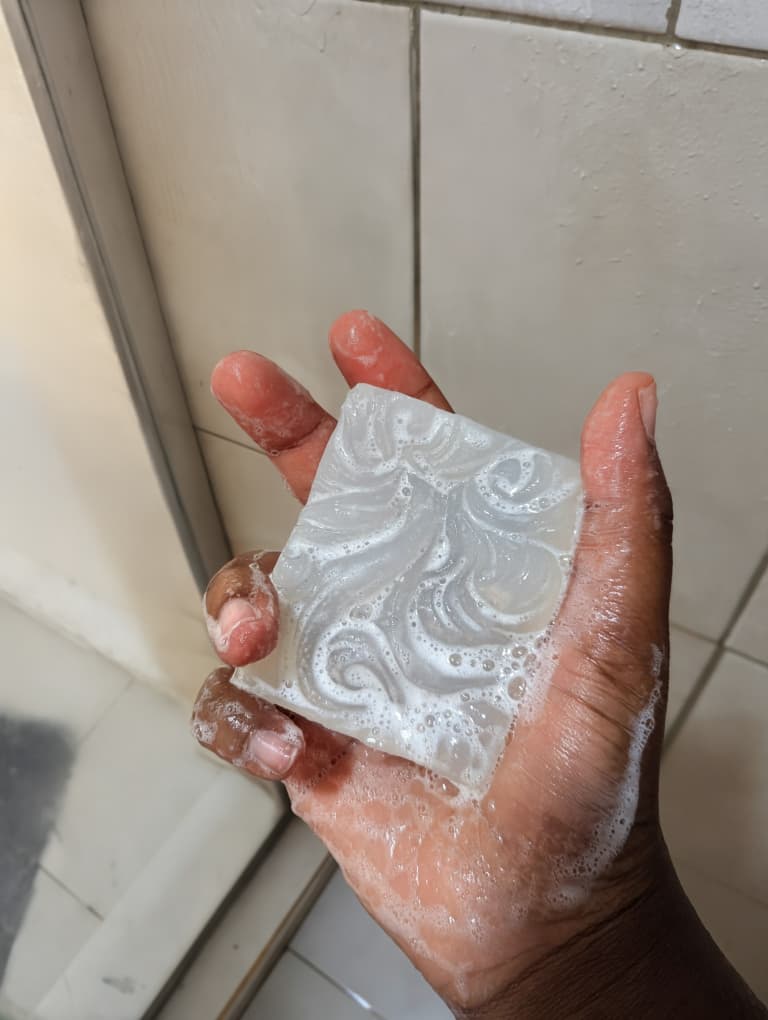
- It won’t lather like store-bought soap.
- Commercial soaps are formulated for maximum bubbles. This homemade bar produces waaaayyy less foam and bubbles. I’ve heard castor oil and coconut oil helps with that but I’m not sure how true that is.
- Use a loofah for better lather.
- A loofah creates significantly more bubbles than a face cloth. If you’re chasing foam, that rough texture is definitely your friend.
- Bar lifespan
- As a body bar the soap lasts about a week and a half, especially if you’re working hard for that lather. As a hand soap it lasts forever. My friends’ grandkids will definitely find this soap still in my bathroom for real.
Anyway, that’s all from me. If you’re interested in a similar post on making your own body butter, check out that post here. Otherwise, happy soap making!